Project Membership
Complete guide to project ownership, membership, and permissions in LangQuest
Understanding Your Projects
When you open LangQuest, you'll see "My Projects" - these are the projects that you've created. You can create new projects at any time:
- Unstructured projects - Projects without chapter and verse segmenters or structure (like folktales, poems, stories)
- Bible content projects - Projects with structured content (books and chapters, like the Bible)
Inviting Members to Your Projects
To invite others to help you with your quests open your project:
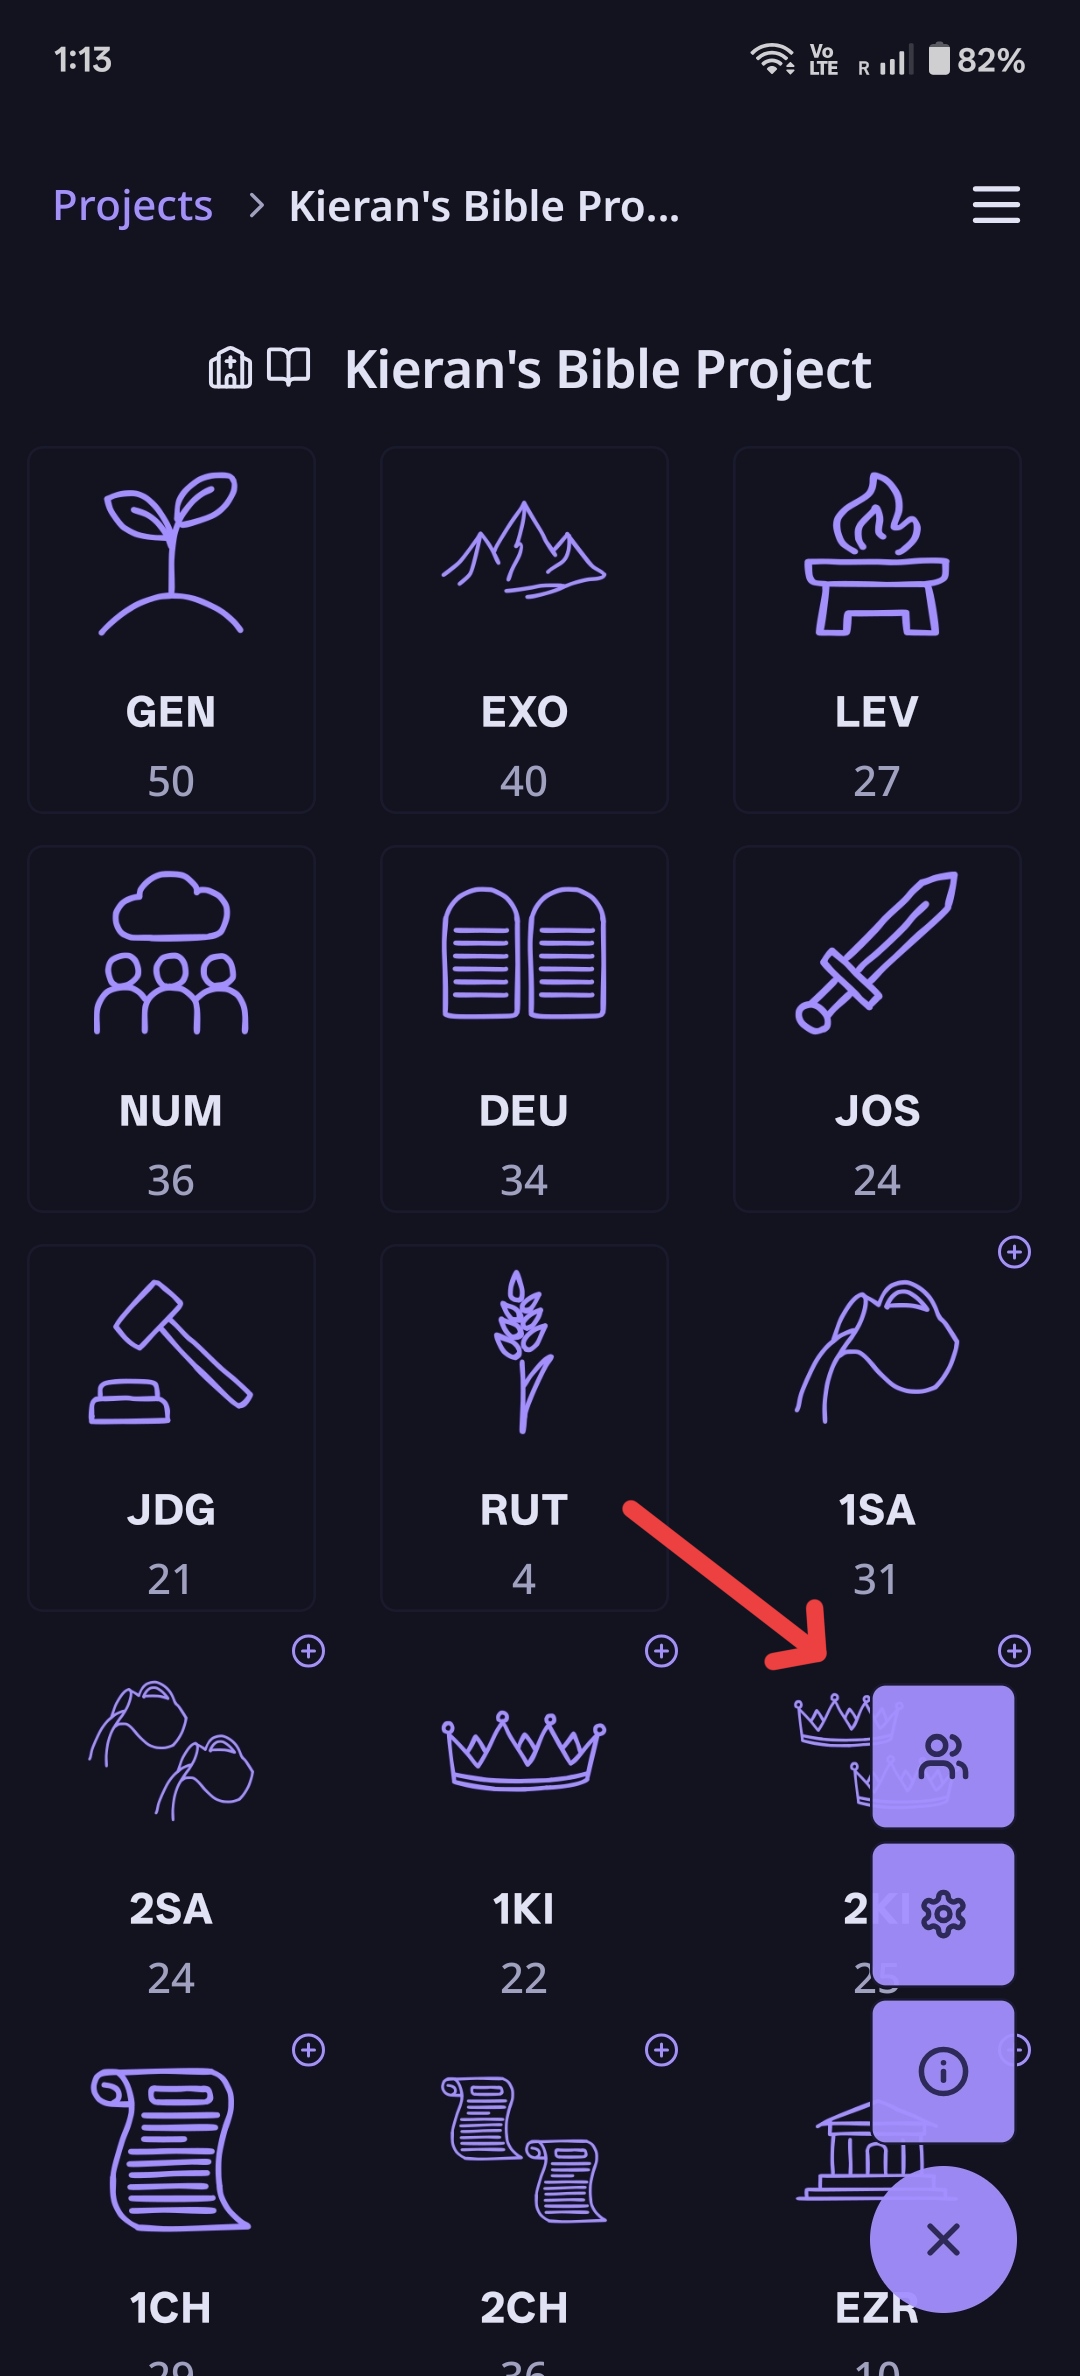
Step 1: Open the Members Menu
- Select the three-dot menu in the bottom right corner of your project
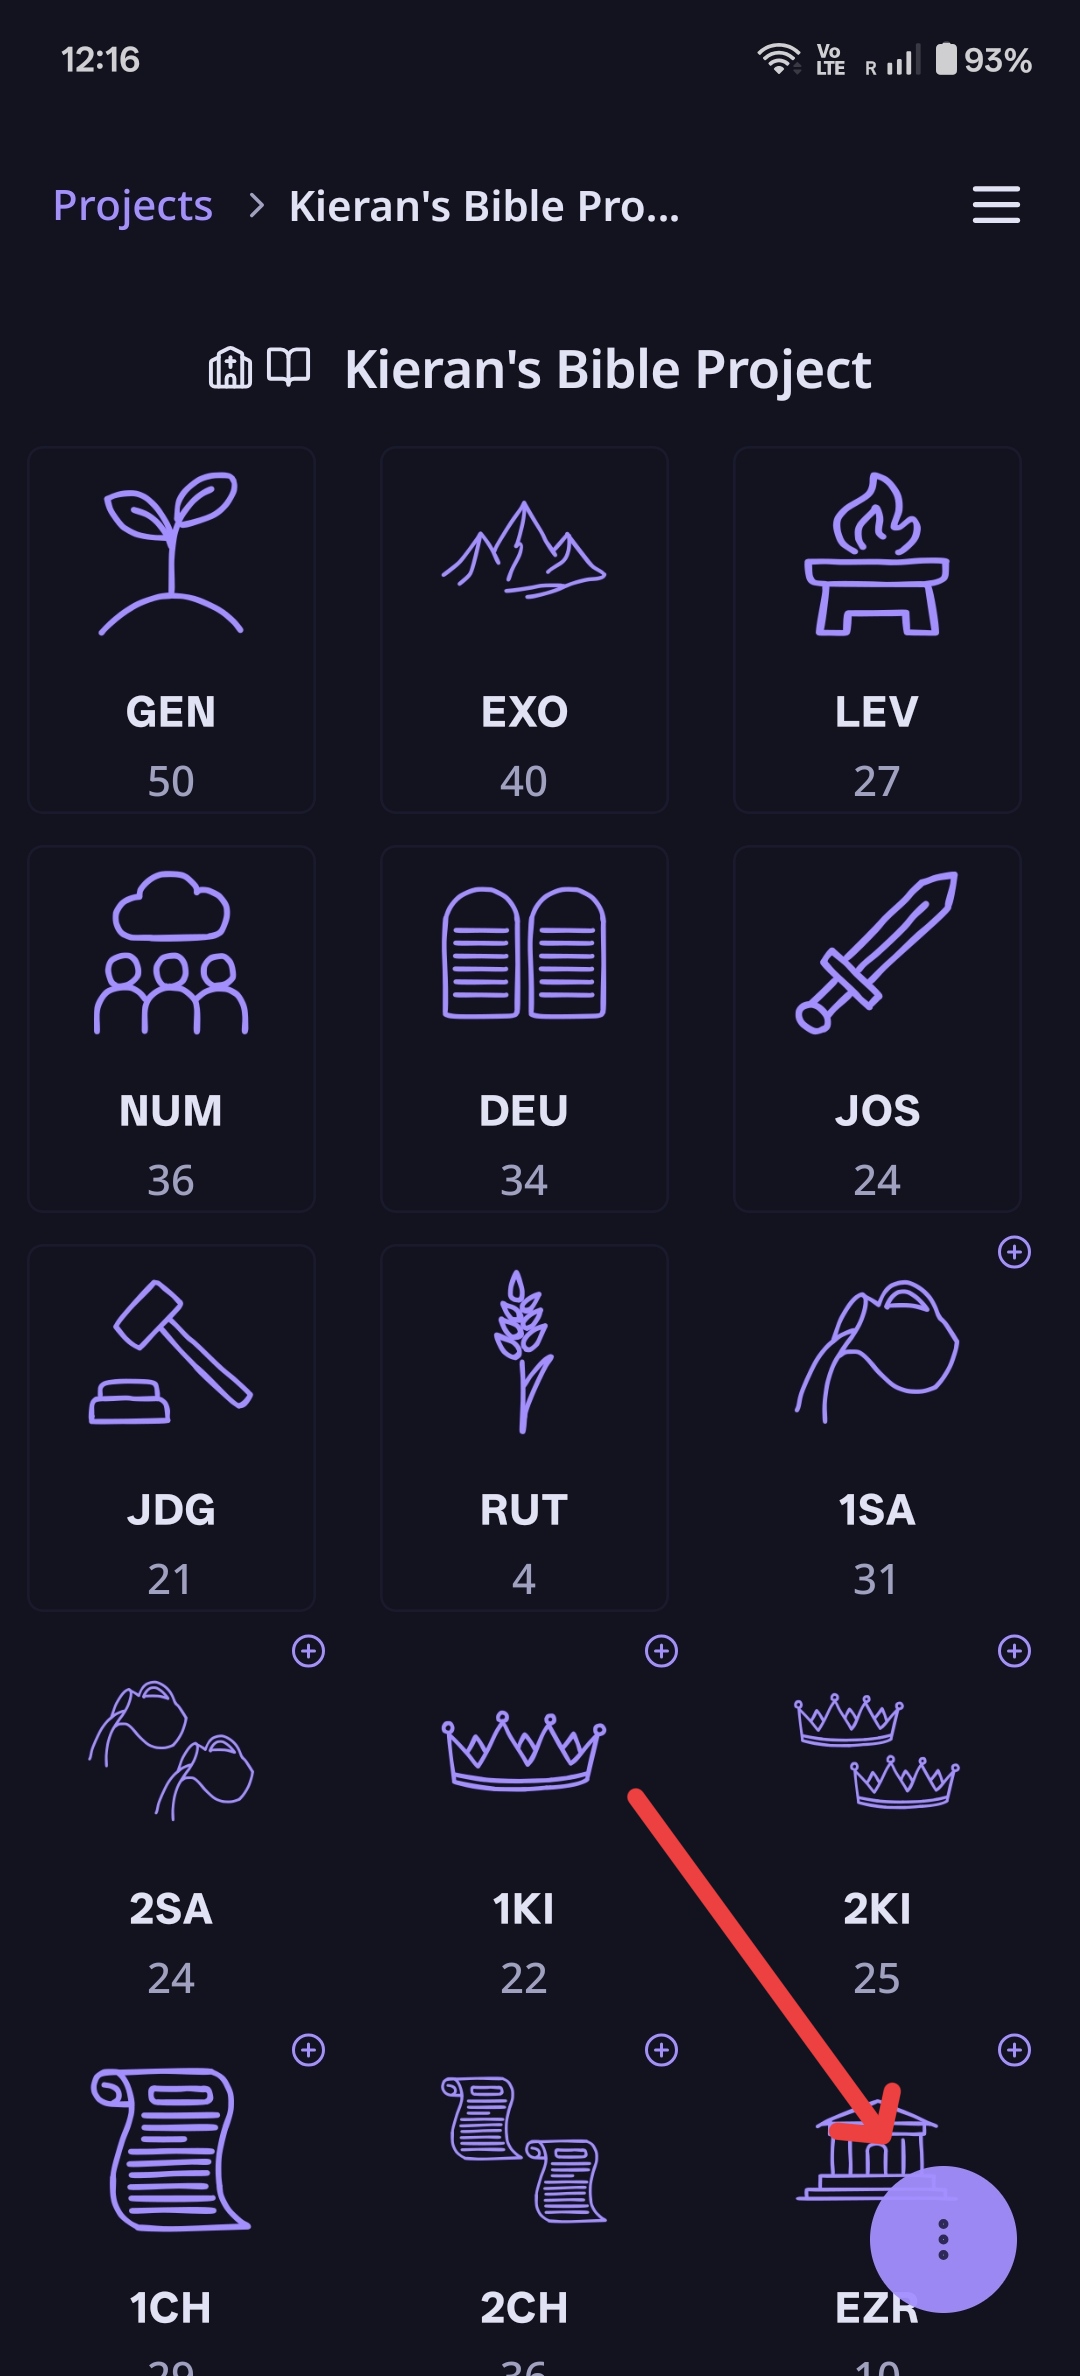
- Select the members icon
Step 2: Invite by Email
You can invite other members according to the email they used for signing up for LangQuest.
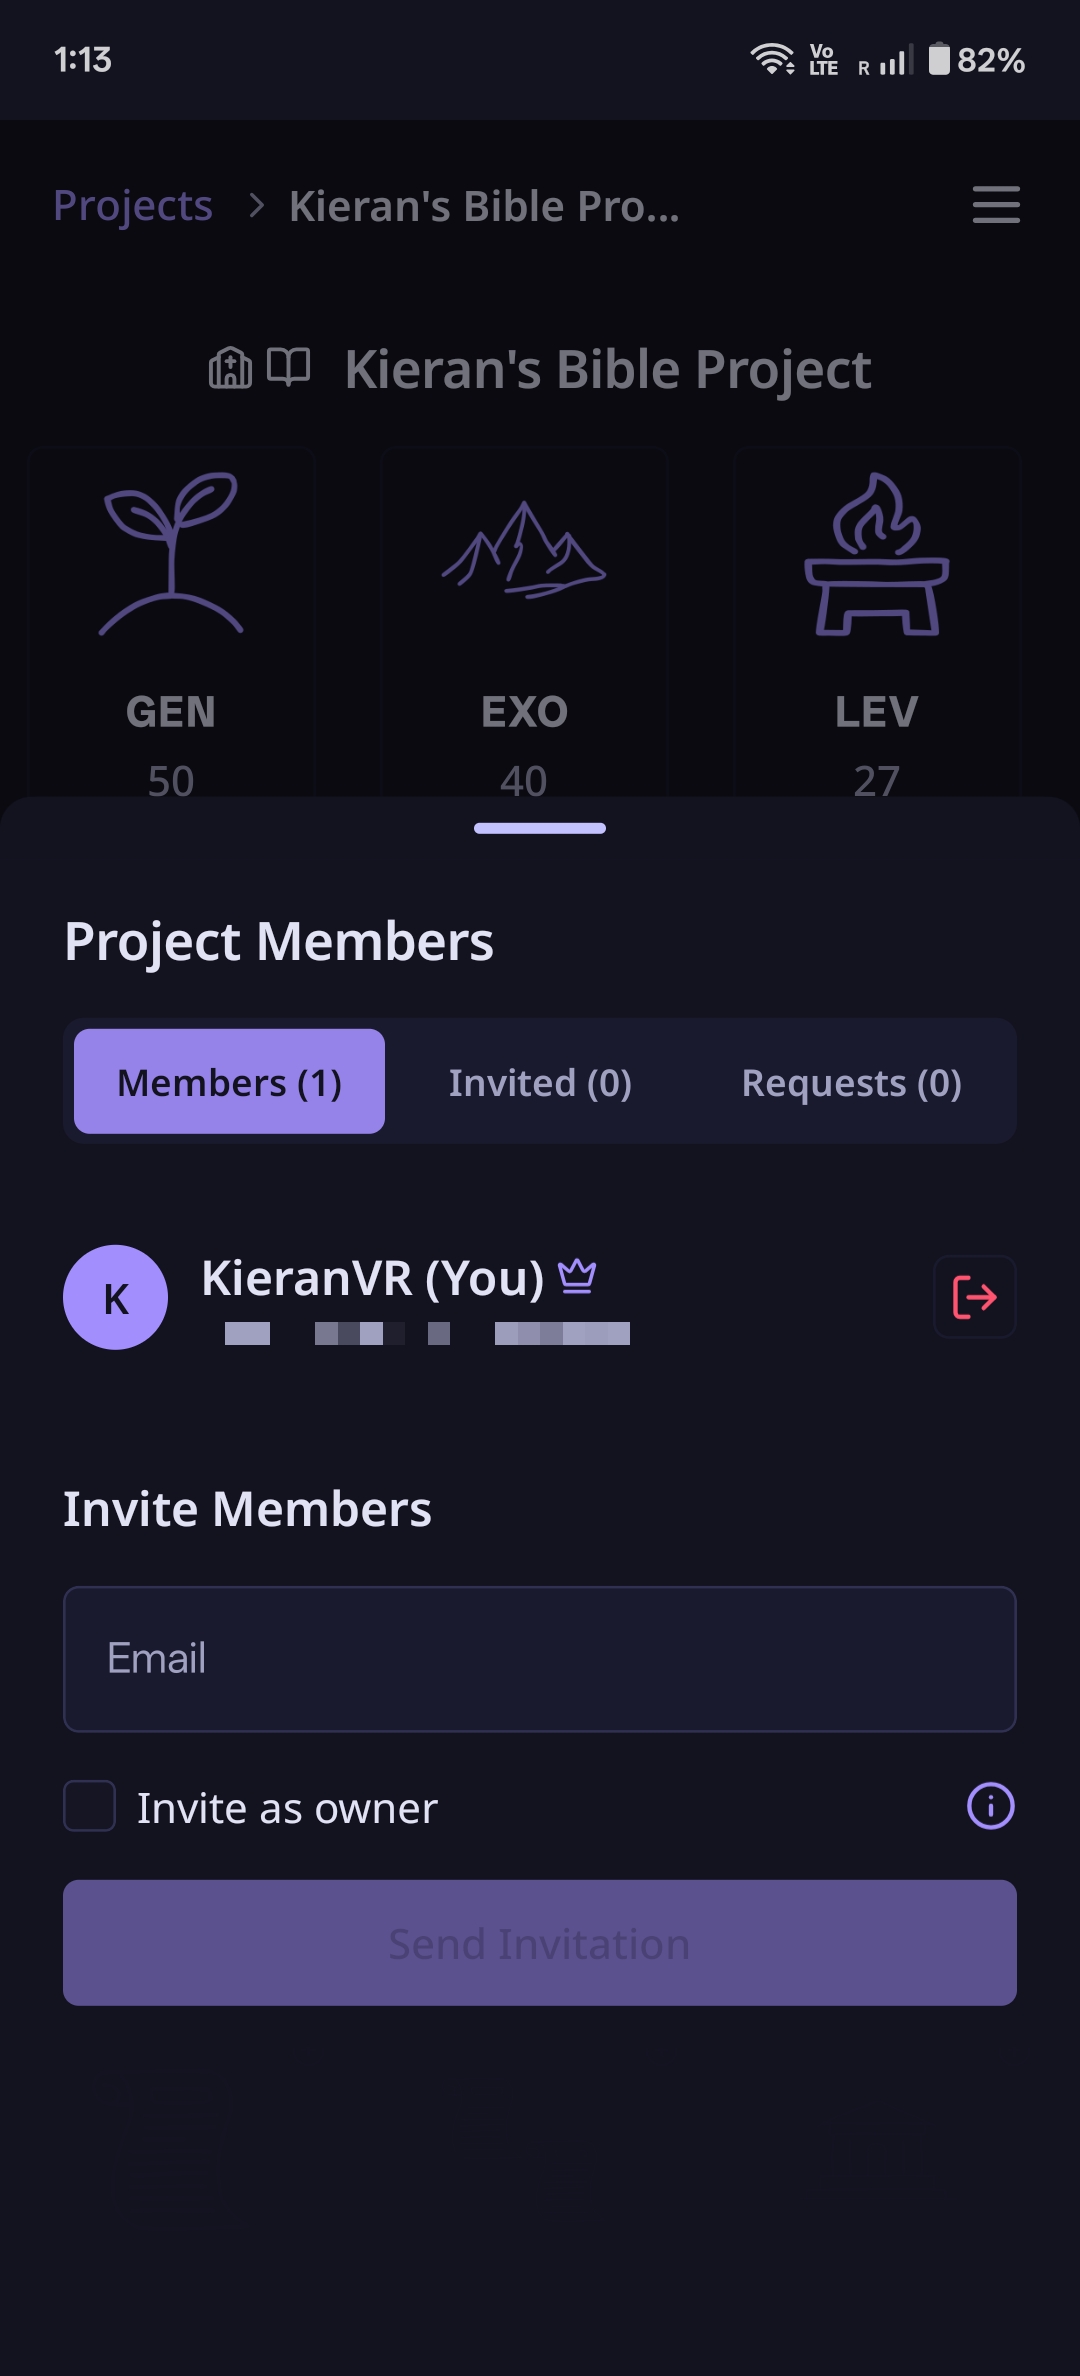
⚠️ Important: It can't just be any email you have for that person - it has to be the email they used when they signed up for LangQuest.
Step 3: Choose Member Role
When inviting, you can:
- Invite as a regular member - Can contribute to the project
- Invite as owner - Owners can create content, invite and promote other members, and cannot be demoted back to membership or removed from a project by other members
Transferring Ownership
Once you have other members, you can transfer ownership - that's the little king icon. Transferring ownership gives them admin and other authority over the project.
Requesting Membership in Public Projects
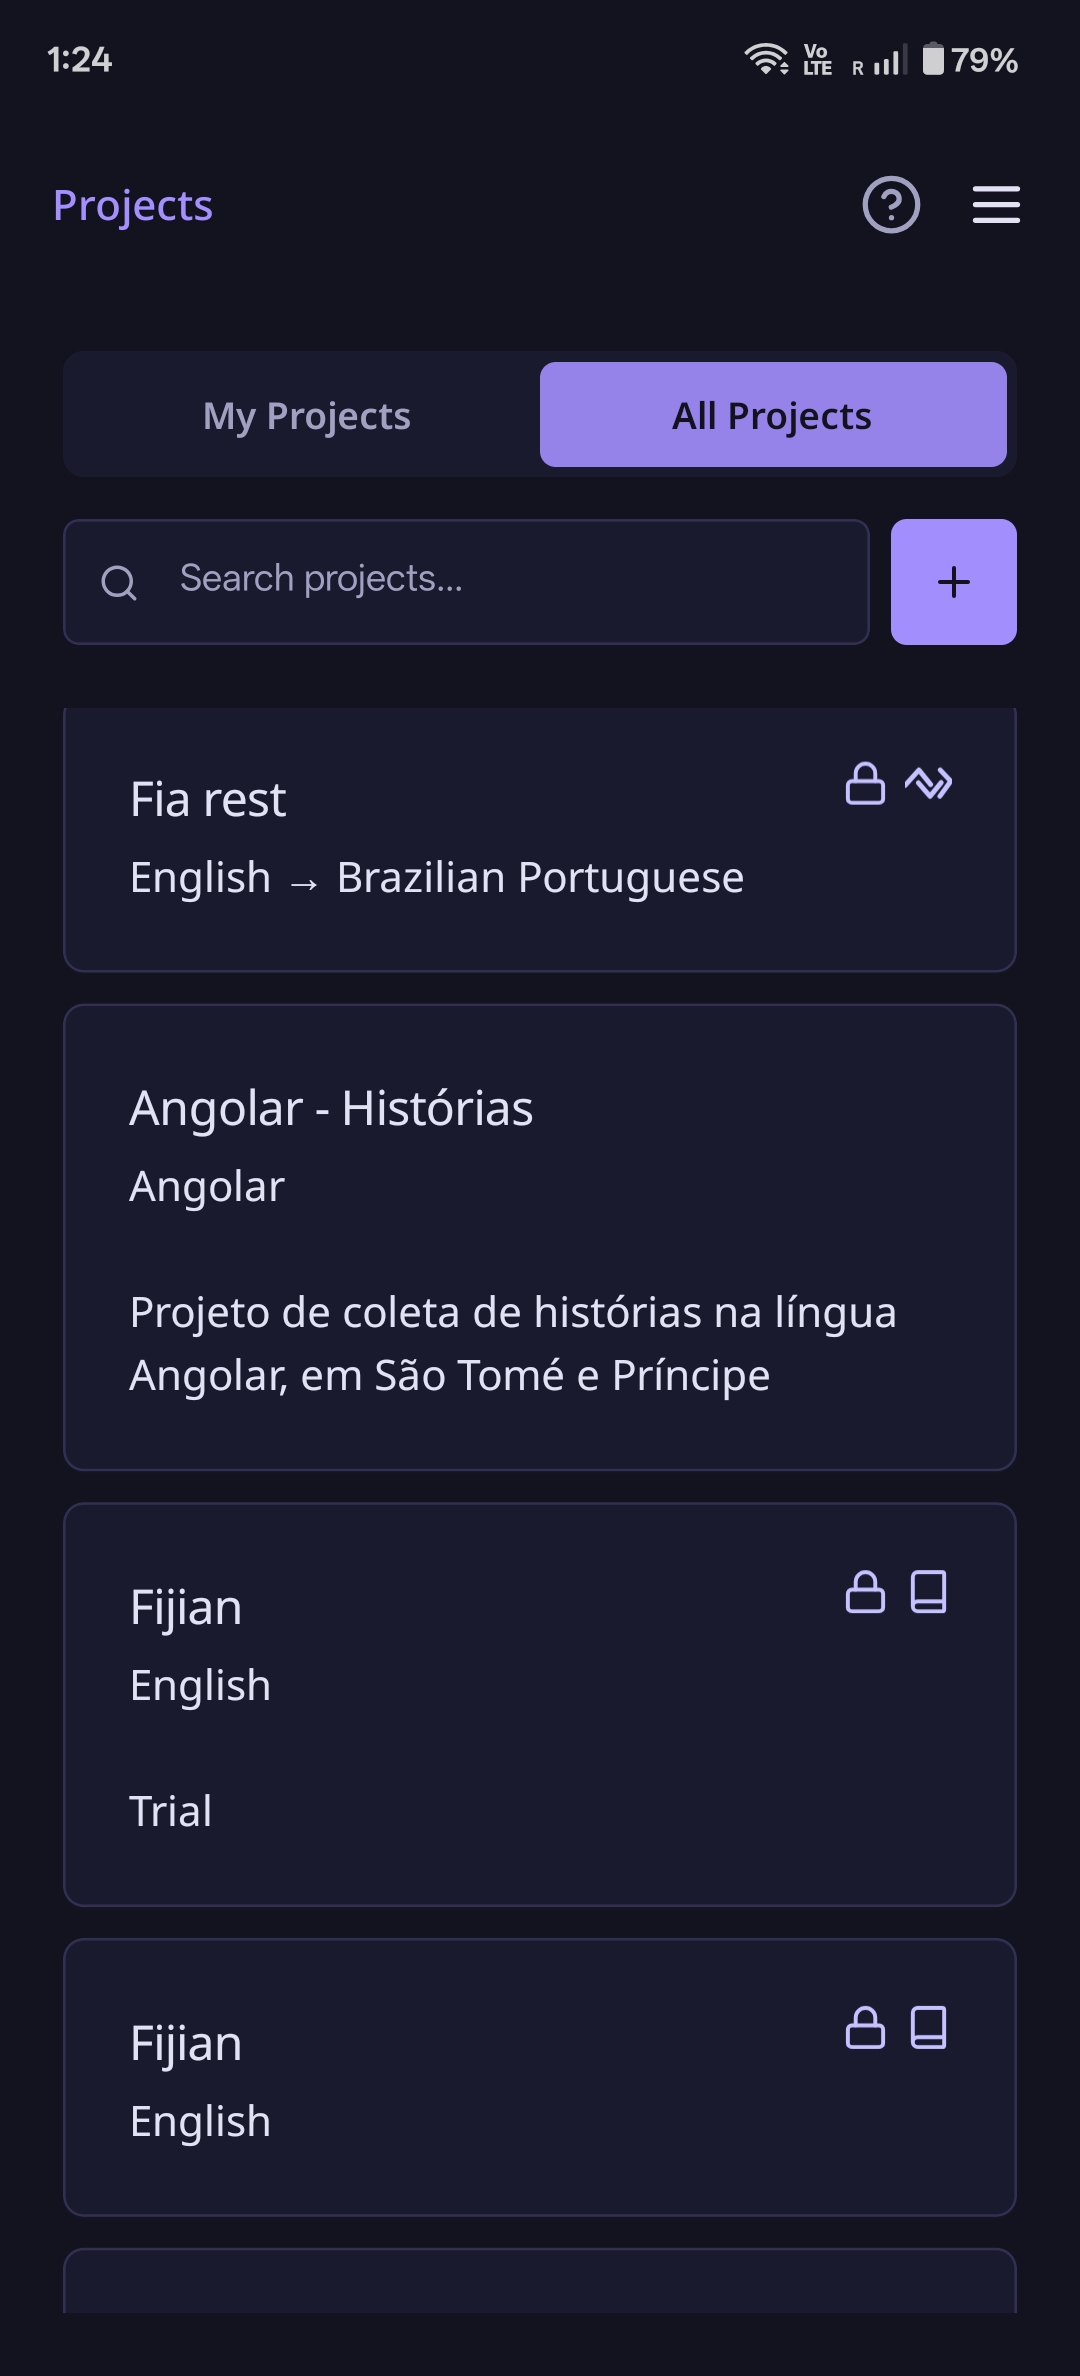
Viewing Public Projects
- Go to "All Projects" in LangQuest
- Scroll through the public projects available
- Select a project that interests you
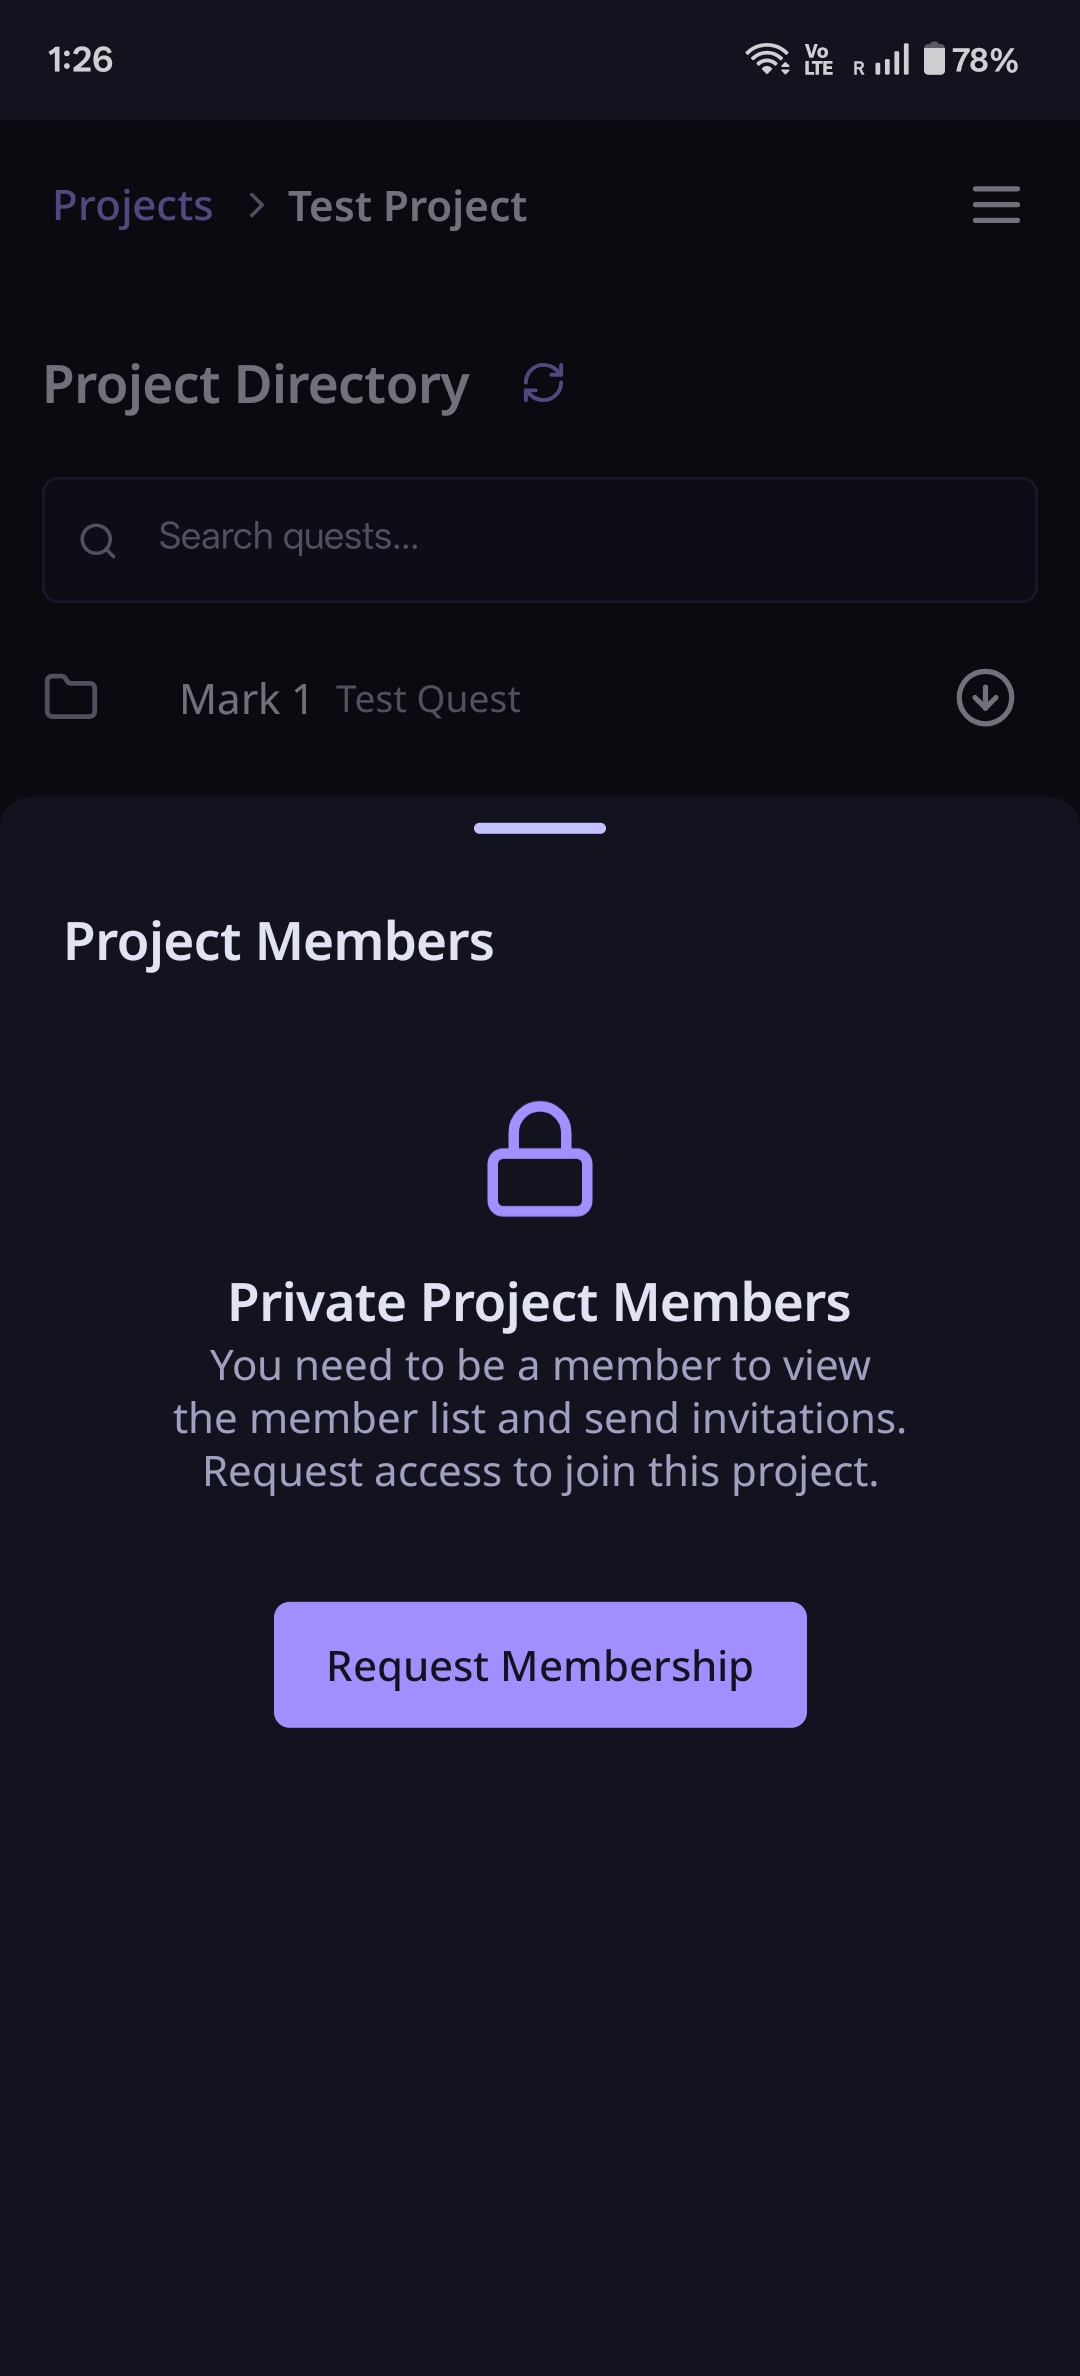
How to Request Membership
To request membership in a public project:
- Open the project you're interested in
- Select the three-dot menu in the bottom right corner
- Go into the members section
- Request membership
This will send an email to the owner of the project, which they can review and accept or reject your membership request.
Managing Membership Requests (For Project Owners)
When someone requests to join your project:
- You'll receive an email notification
- Review the request - see who wants to join your project
- Accept or reject the membership request
- Accepted members gain immediate access to contribute to the project
Note: LangQuest works offline. Members can continue working with their local data even without an internet connection. Syncing happens automatically when connectivity returns, and sessions persist even if authentication tokens expire while offline.
Viewing Project Members
To see who's in a project:
- Open the project
- Select the three-dot menu in the bottom right corner
- Tap the members icon
- See all members - owners (with the king icon) and regular members are listed
Only owners can invite new members to the project.
Summary
That's the basics of project membership in LangQuest:
For Project Owners:
- Create your projects (unstructured or Bible)
- Publish to the cloud using the cloud icon to create permanent copies
- Invite members via the three-dot menu → members icon → invite by email
- Choose their role - regular member or owner
- Transfer ownership if needed using the king icon
- Manage requests - accept or reject membership requests from others
For Members:
- Browse public projects in the "All Projects" section
- Request membership via the three-dot menu → members section
- Wait for approval - the owner will receive an email and can accept or reject your request
- Start contributing once approved
Remember: You must use the email address that the person signed up with when inviting members - it can't just be any email you have for them.